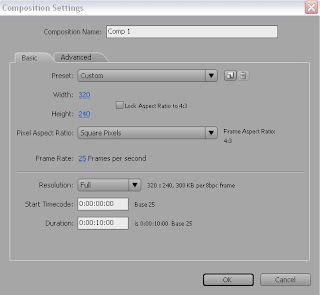
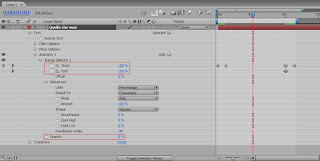
With this tutorial we will create a visual effect with After Effects which appear in the branches and leaves that are born and grow.
The result is as follows:
1.
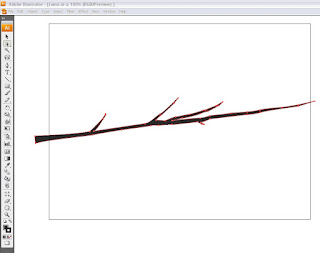
start this time by opening Adobe Illustrator. In a paper we design a new branch. We can also trace it to a photo imported. Over the branch is flourishing so the effect is more appealing but also more difficult to achieve. I designed a fairly simple, leafless branch.
2.
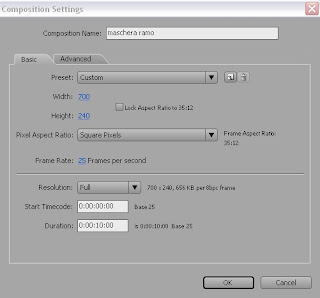
Illustrator has a very comfortable, that is, the ability to copy the marks painted, paste them into After Effects on a sound and turn them into form. Then, with the white arrow to select all punti del ramo, copiamo (ctrl+c). Apriamo After, andiamo a creare una nuova composizione con le seguenti impostazioni:
3.
Andiamo a Creare un solido grigio scuro della grandezza della composizione: Livello > nuovo > solido > grandezza della composizione, ok. Selezioniamo il livello del solido e (ctrl+v), incolliamo i punti copiati prima. Apparirà sul solido una maschera con la stessa forma del ramo di illustrator. Assicuriamoci che la maschera sia chiusa per evitare che si creino artefatti. Ecco il risultato:
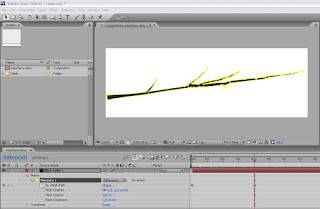
4.
Now we have to animate this mask to reveal the branch in time. Suppose we want to prolong the growth two seconds. We position the cursor in two seconds and orologino activate the mask path. Now place the cursor at zero seconds and with a little patience we group all points of the form to the left, near the base of the branch. To help select the arrow tools, we select a group of points on the mask and spostiamoli to the left as if we were to shorten the branch by creating a strain qundi smaller and being careful not to let strange curves. In this case shorten the bezier handles. No matter how they are made exactly the points, the important thing is that they are "stacked"
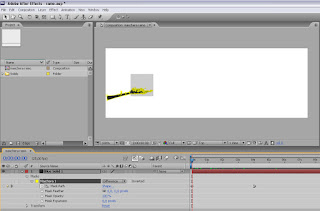
moving the head of the timeline from zero to two seconds we can see branch that grows from left to right. To make this movement more appealing, we can put more time and grow keyframe in the first part and then another branch.
5. Applying
effect reduction matte, the solid and animation in the right way we will ensure that the branch is expanded, giving the idea that you really enlarge. This effect when applied good is very effective: Effects> Matte> Matte Choker.
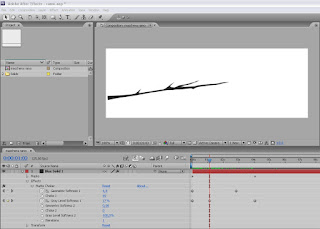
I've animated in this way (copy and paste the keyframe on the level of the branch)
or make reference to the project you downloaded.
Adobe After Effects 8.0 Keyframe Data Units
Per Second 25 Source Width 700 Source Height 240
Source Pixel Aspect Ratio 1 Comp Pixel Aspect Ratio 1
Effects Matte Choker # 1 # 2 1 Geometric Softness
Frame
0 7.9 71 0
Effects Matte Choker # 1 Softness Gray Level 1 Frame # 4
percent
0 9 28 101 16.6337 69
End of Keyframe Data
6.
We do a similar thing on another solid orange. New> Solid, ok. Draw a mask-shaped leaf with 4 or 5 points and we grow up in a couple of seconds of time, animating the mask path.
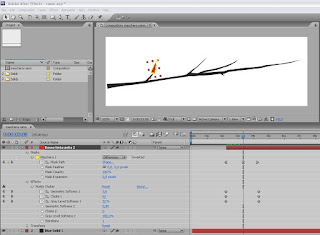
also apply to the leaf effect "reduction matte" animated.
7.
duplicate the leaf level and leaves adorn the branch with different masses with different angle or form. Remember to staggered levels over time and make sure that the leaves displayed only when the branch is grown under:
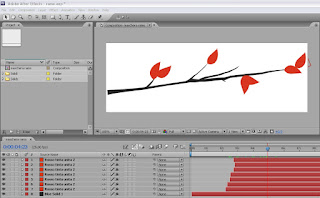
In fact, the leaves are separated from the animation branch. In fact, you can animate the branch that grows with the leaves already drawn, only the leaves should be the same color of the branch.
8.
Let's create a new composition with the following settings:
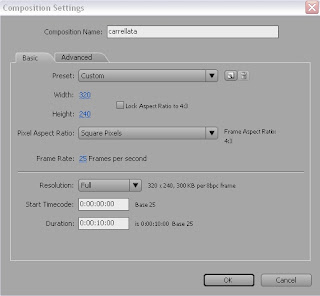
Here we will
branches in 3D space and we'll do a round back with the virtual camera.
9. Quickly we
: a virtual video camera (50mm): New> Camera> 50mm; insert two times the composition of the branch and activate the third dimension by clicking on the cube. A move deeper into the Z-axis (left to arrange them in a proper frame, as in the picture) also staggered levels over time to grow a branch first then the other, adding a new light> light> type: spot (or spot), which illuminate the branches. The background color of the composition is white. I have added a solid orange blended with an oval mask to give depth.
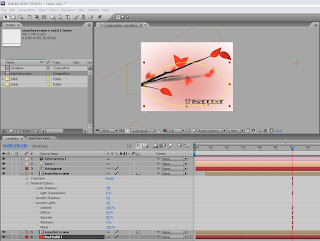
10.
Good. Now there are only a few details. Remember to activate the "Accept Lights" on levels of branches, otherwise no light shines on them. The cone of light makes the colors of the branches soft.
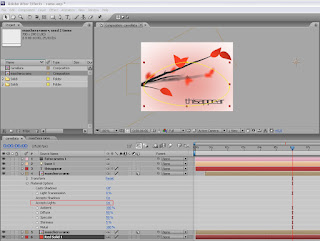
We try to make a camera movement interesting. I made a slow parade back and I used depth of field to focus on the first branch back then the front. Il metodo è quello di fissare un'apertura e animare il fuoco.
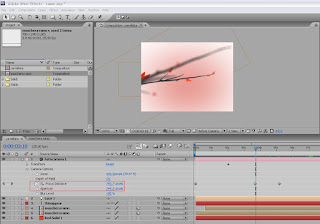
Lasciate uno spazio in basso se volete per aggiungere del testo.
Spero sia tutto chiaro. Avere delle conoscenze di base del programma sicuramente aiuta.
Se qualcuno ha delle domande anche banali sul funzionamento specifico di uno strumeto di After Effects può scrivere un commeto o una mail e vedrò di fare un tutorial apposito.
Il file di progetto di questo tutorial è su:
www.thisappear.com/download/rami.zip
Bye
